 Sticking a solar light in the ground in rocky or hard clay soil is not an easy task.

Sticking a plastic post in the hard dry ground and expecting great results is destined to be a FAIL. I know, been there, done that.
I do have low voltage LED lights in the front and I love them but as life goes, have not gotten around to doing the back yard. It is on my list for fall so for now $1 solar lights will have to do…

At dusk
but I cannot just go with sticking it in the ground. Actually I cannot stick them in my ground where I want them-the ground is hard as a rock and I would have to have a jack hammer! So I was messing around a couple weeks ago when I made the flower shaped solar holder for my dry stream bed and had some extra hypertufa (now my hypertufa is not the same as many others but I am a lazy DIYer and I use what I have). Anyhow, hubby and I had gone to Sheetz for $2 6″ subs and I bought myself a Diet Dew for the trip home so I was left with the 32 oz plastic cup to be recycled.
But WAIT!
The wheels starting turning and so I cut off the bottom of the cup, filled it with hypertufa, stuck the post from the solar light in, and found a heavy pot to carefully balance on the creation until it started to cure. That, by the way, was the hardest part-balancing a heavy pot on a stick on top of a plastic drink cup filled with cement.
The stand is perfect for my pond and now I have to make a couple more to go around the fountain. It really looks cool and even hubby could not believe how good it looked.
I love finding ways to create and to inspire. Now as you run outside and look at your solar lights, you will be tempted to create your very own solar light stand that will have your visitors asking “where did you get those cool looking solar lights?”
Creating. Inspiring. Gardening without the rules!
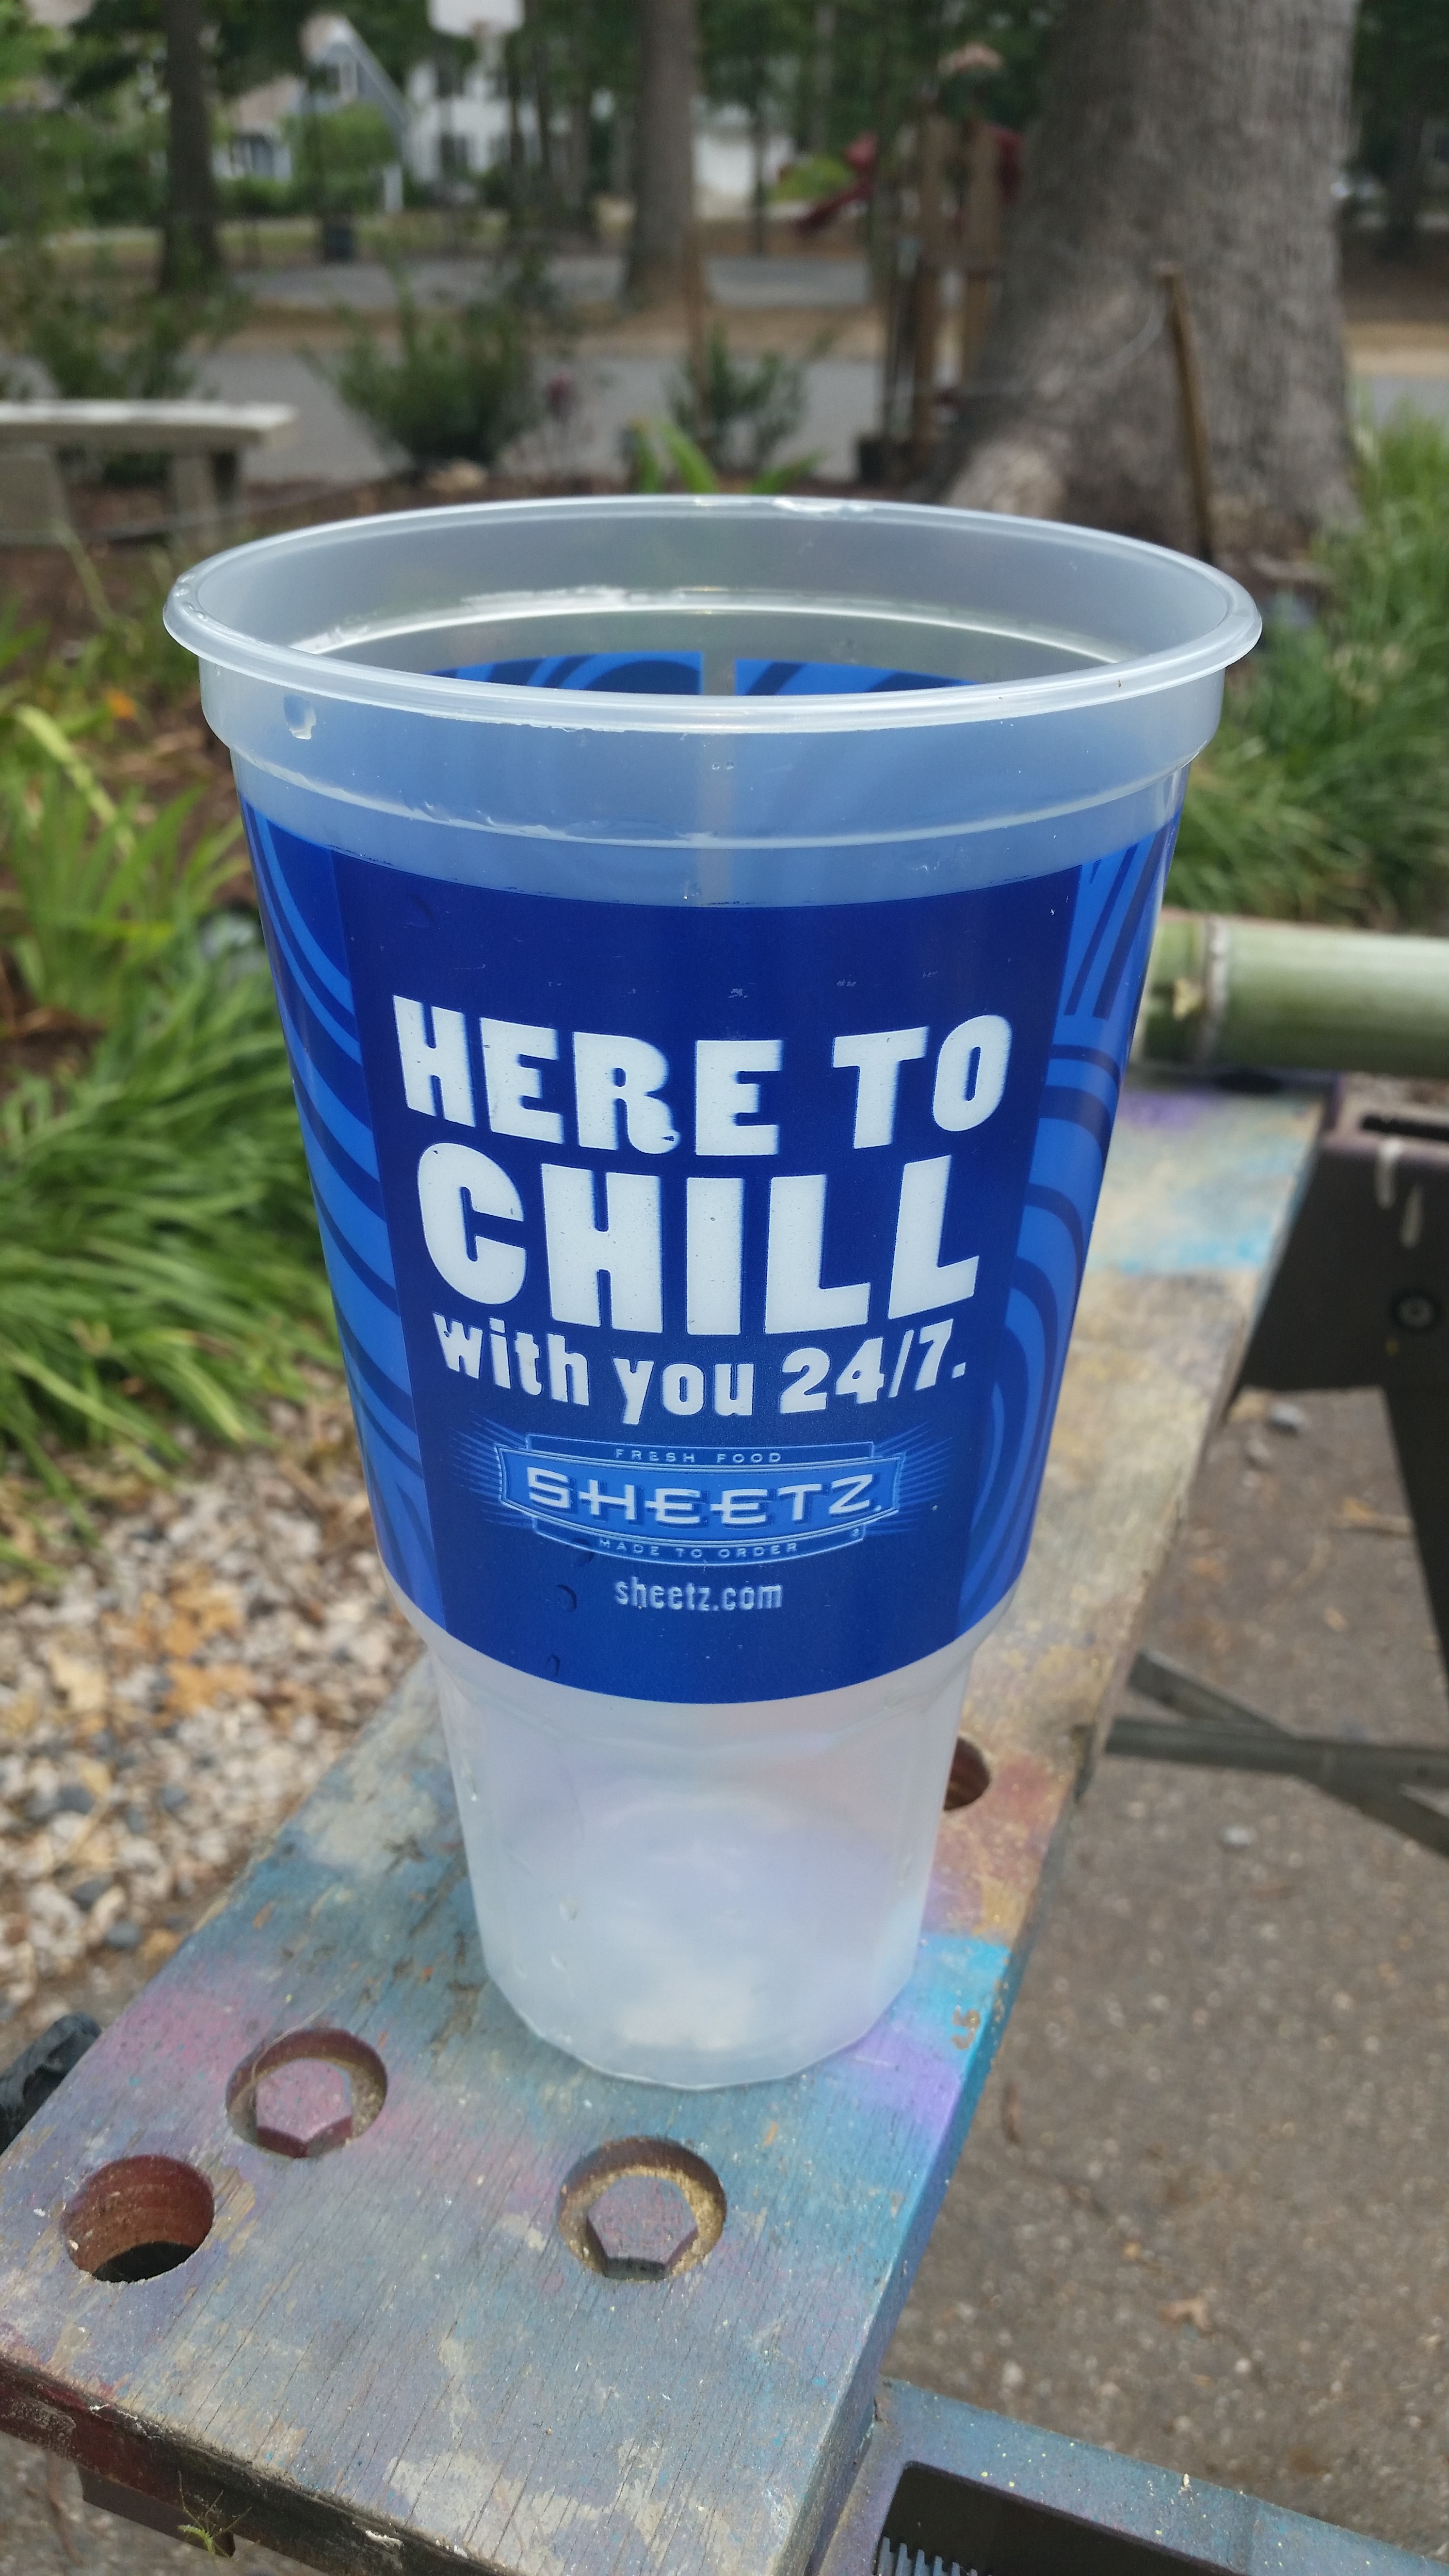
My drink cup (this is unusual for me but I was thirsty)

Took my utility knife and cut off the bottom

filled it with the left over hypertufa mix. Now this is not easy to hang onto. You will fill it up and then flip it over so the bottom is up and then put the solar light pole/stick in all the way through to the bottom

Okay I forgot to take a pic but this gives you an idea-i had a hypertufa pot to hold it down and then I realized I forgot to stick the pole in! I do not have a pic of the actual way it looked but the the I had the pot upside down carefully place to balance on the post stuck in the hypertufa/cup until the next day

I do not know if you can see, but the far right is the solar light. I had to cut the cup off the next day-be careful the hypertufa is not cured and is still wet but it was not hard to cut off just try to not go through the cup and scratch up the project

I have to retake pics at night but you can get a general idea what it looks like at dusk

I was thinking I love your idea.but what if you filled whatever size container you wanted then filing it with the hypertufa mix then taking a smaller container wrapped in saran inside it . So when it dried you could remove the smaller container leaving a hole inside which you can then fill with a little dirt and THEN place the solar light in it .I’m going to try it this way thanks for a wonderful idea !
Yes just about anything would work! have fun!